Expert on-site metallurgical analysis without removing material. Evaluate microstructure, cracking, corrosion, and material condition in the field: fast, accurate, and cost-effective.
Houston-Based Providers of On-Site Metallurgical Analysis by Replication
Field metallurgical replication (FMR) is a uniquely powerful tool for evaluating the condition of metals when they cannot be cut or have samples removed. FMR can be performed on vessels, equipment, and facilities where analysis would otherwise be impossible, allowing rapid assessment of material type, microstructure, corrosion damage, cracking, and more. The ASTM E1351 standard is commonly used to guide the performance of FMR analysis, along with ASTM E407 , ASTM E3, ASTM E340, and other related standards. Our experts can help you design the analysis, choose the right analytical etchants, evaluate the obtained replicas, understand the results, and then make appropriate choices on how to proceed.

What is Field Metallurgical Replication and Why is it Useful?
A well-documented and highly effective technique for understanding the properties of metals such as aging, damage, corrosion, cracking, and fatigue.
Field metallurgical replication (FMR) is a powerful non-destructive evaluation technique for assessing metal condition when samples cannot be removed. This can be for looking at aging in high-temperature applications like boilers, evaluating a pipeline for service, assessing corrosion in storage tanks, and many more applications.
Our Houston-based team performs FMR on vessels, pipelines, bridges, pressure equipment, and industrial facilities—providing rapid assessment of material type, microstructure, corrosion damage, cracking, creep, and fatigue. In many cases we can be there the same or next-day to help you resolve critical issues.
Using ASTM E1351 standards along with ASTM E407, E3, and E340, we deliver detailed metallurgical insights that ultrasonic and eddy current testing simply cannot provide. To our metallurgists, microstructure reveals the complete story of a material’s condition and service history. Using FMR, we can rapidly evaluate and understand the type of material, possible materials issues, assess forms of damage like creep and pitting, and much more.
Sustainability and Life Extension
FMR is a key tool for sustainability and life extension without costly destructive methods. US Corrosion has applied in on a wide range of structures and components, ranging from buildings, bridges, and boilers to pipelines, pressure vessels, and pumps. This analysis lets us identify the microstructure details of materials without removing anything – which can be especially important in older vessels, historical buildings, and on bridges.
For example, when pipelines and sewer systems under a city are not well labeled or mapped, they are often made of cast iron or steel. FMR can quickly determine which type of material is present, allowing a decision to be made immediately whether to repair or replace (generally cast iron is often replaced while steel is usually kept in place). Our team can mobilize to provide data within a few hours of a request, helping you obtain the data needed to prevent costly delays and expensive replacements.
How Field Metallography Works
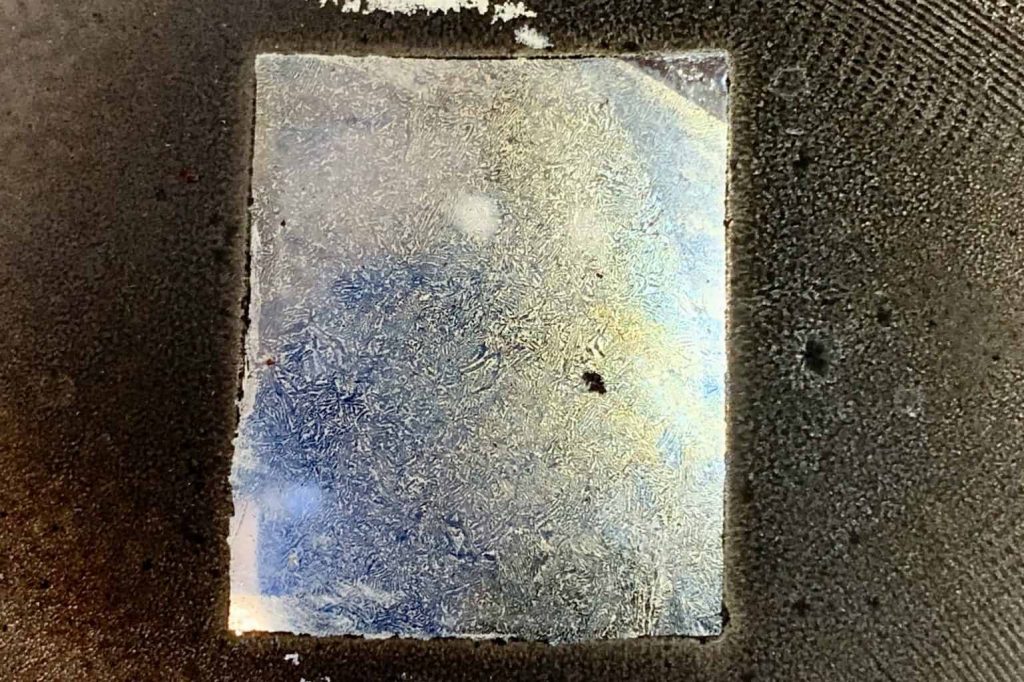
During the FMR process a small area (typically 1 x 1″ or 1 x 2″) is polished to a mirror finish with battery powered equipment or corded tools using abrasive pads followed by polishing cloths. Replicas can be taken as-polished to look for defects, cracks, and precipitates, or the metal can be etched to reveal the microstructure.

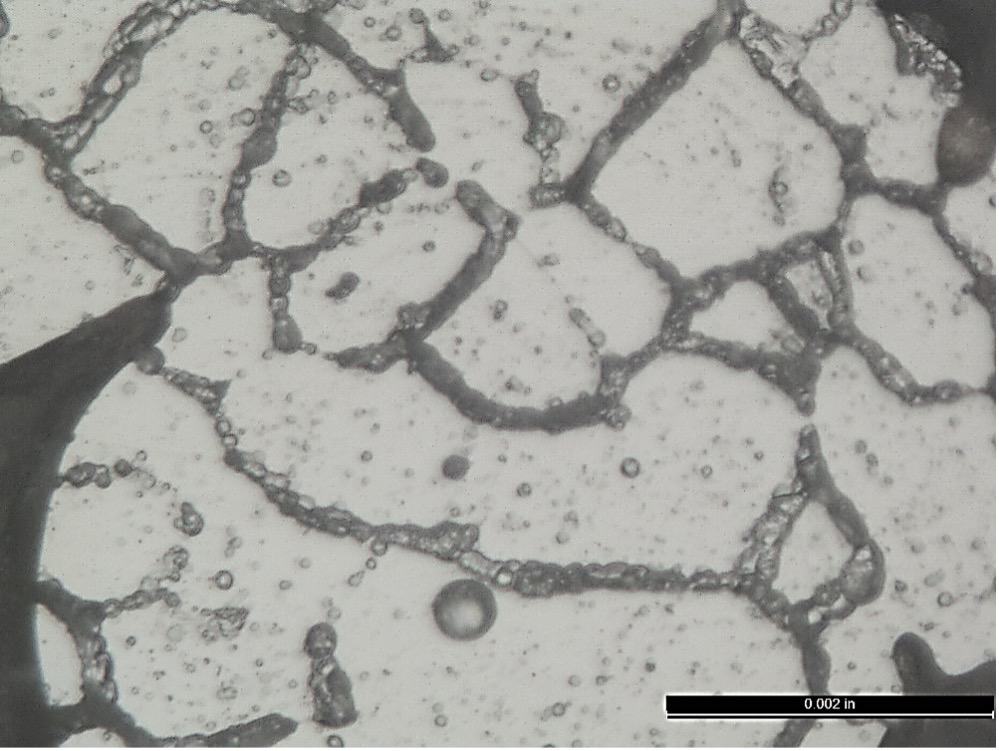
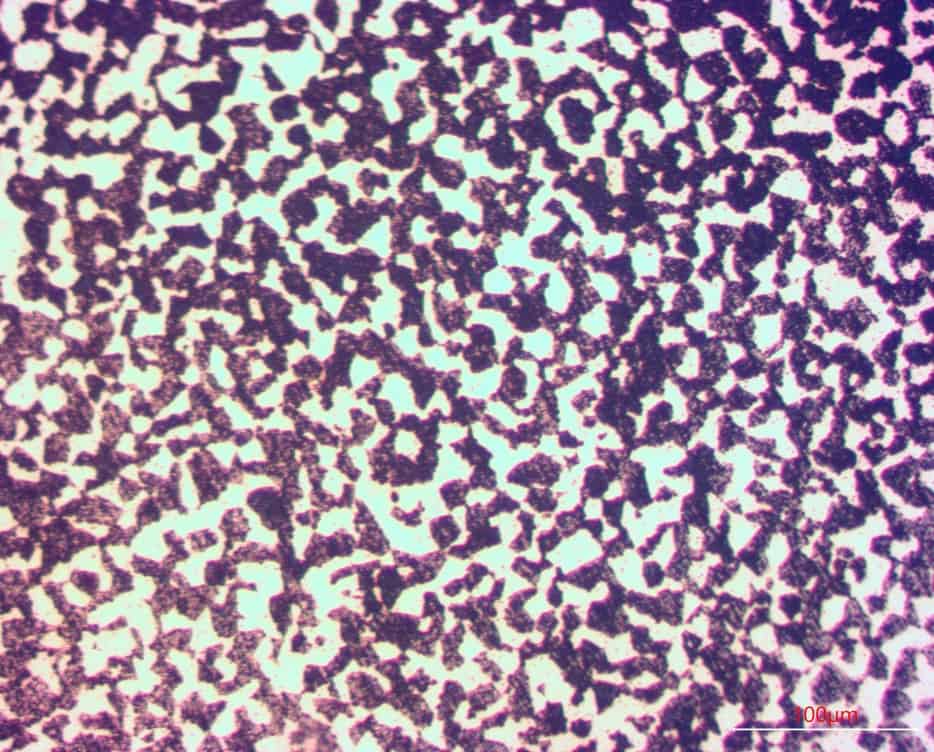
A mirror finish is obtained in the final stages using diamond impregnated polishing cloths. Etchants are then used to reveal the microstructure of the material. Portable microscopy can be used directly on the component to immediately identify the material type and any possible defect such as cracking or thermal tearing. The replication aspect of the technique also allows a copy of the microstructure to be taken using acetate sheets fixed to glass slides which can then be examined in greater detail in the laboratory using optical microscopy, this also allows images to be obtained and included in communication reports.
US Corrosion can come on-site during unplanned or planned shutdowns to help evaluate a range of mechanisms like creep, thermal oxidation, cracking, and corrosion on your equipment and systems. Field metallography provides a method to evaluate many issues, including:
- Microstructure and microstructural features,
- Porosity,
- Inclusions such as MnS strings,
- Precipitates, which can be characterized by size and shape,
- Creep damage,
- Phase composition, (for example, the mixture of duplex alloys)
- Heat treatment,
- Weld size, geometry, and properties,
- Cracking, and
- Corrosion.
- Gouges, scoring, pitting, and more can be evaluated using polymer resins or rubber molds.
Our qualified staff can perform this work for you on scaffolding, in confined space regions, and elsewhere in the field, often evaluating 4-12 locations per day depending on a several variables like ease of access and extent of grinding required to expose the surface. We then return to the lab and perform optical and/or electron microscope analysis to evaluate the samples per the customer’s requirement. The final output can range from a short email with a few pictures to a thorough, detailed report ready for use in legal issues or expert consulting.
What other tools are used with field metallography (FMR)?
In addition to FMR, we often evaluate chemistry using PMI equipment such as XRF or OES, hardness by rockwell, brinnell, or ultrasonic MIC 10 hardness testing, and can perform 3D scanning of piping, systems, or the entire area for use in consulting or failure analysis cases.
How is Field Metallography Performed?
There are two key parts to this process: (1) making the metallurgical replica in the field and (2) evaluating the details of the replicas in the laboratory. A high degree of skill is required for both processes – our experienced technicians have performed 1000’s of field replicas and our PhD experts bring decades of experience in evaluating the microstructure and properties that are key to understanding the state of the metal.

Choosing a FMR Vendor for Field Metallography
US Corrosion provides field metallurgical replication along with a suite of other on-site consulting services, including positive material identification, mechanical testing, residual stress analysis, damage mechanism assessment, and mechanical integrity assessment. Our team brings the proper qualifications, skills, and experience to help you get accurate replication, scientifically sound analyses, and real-world solutions that incorporate the data and analysis. In addition, we offer fitness-for-service and risk-based inspection consulting to help you make sure you are operating safely.